Installing Your Stream Video Recorder
Stream Video Recorder Quick Install Guide
Your Stream Video Recorder enables you to have 24/7 video storage from the cameras included in your security system.
You can connect up to 8 video cameras to record continuously, and view your video recordings from your mobile app, or locally from a TV or computer monitor.
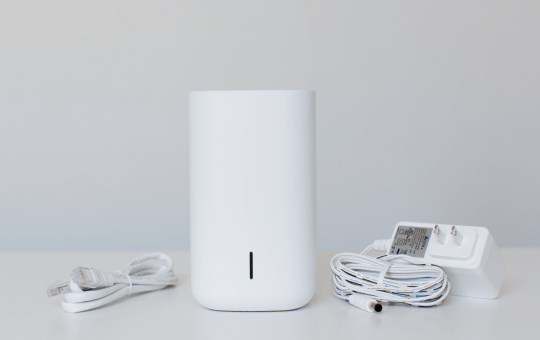
Installation parts
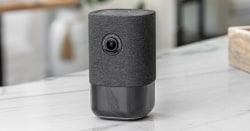
- Your stream video recorder device
- The device’s power adaptor
- Ethernet cable
What you’ll need
- HDMI cable (optional, for connecting device to TV or monitor)
- Computer mouse (optional, for navigating device on-screen)
Installation instructions:
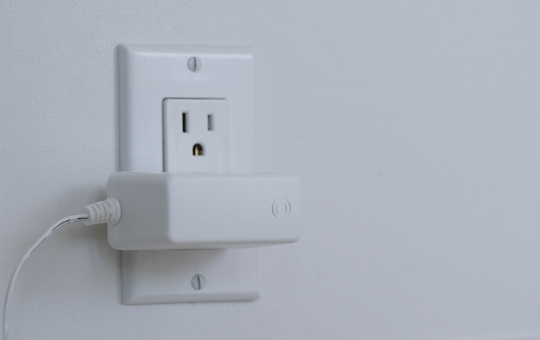
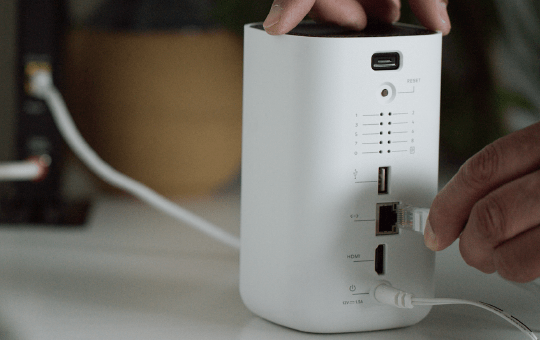
1. Connect the device’s power adaptor and plug it into a non-switched outlet.
2. Using the Ethernet cable, connect the video recorder to your WiFi network.
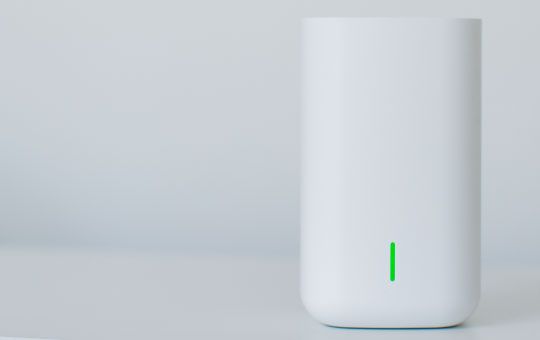
3. Wait for the device’s status LED light (located on front) to turn solid green.
Viewing live and recorded video locally
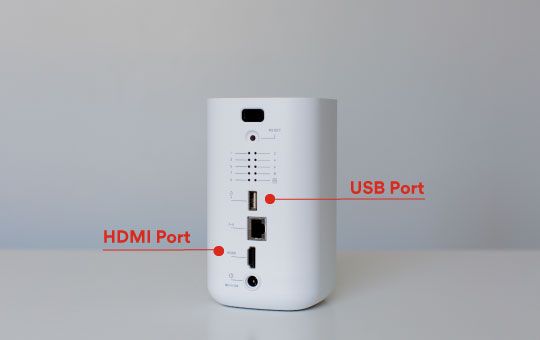
- Using an HDMI cable, connect the device to a television or computer monitor.
- Connect a computer mouse (wireless or wired) to the USB port in the back of the device.
- To view the recorder’s main menu, move the mouse around the screen. Three icons will appear in the main menu:
- a. Layouts and Rotation: Allows you to pick different live view camera layout options and rotate camera feeds.
- b. Search: Allows you to watch recorded video and control play back speeds.
- c. Settings: View a camera’s connection status, manage camera layout locations, and edit rotation settings.
You can click on any camera feed to access additional control options, such as a zoom feature.
Viewing video in your mobile app
- Open your A3 Smart Home mobile app, tap the Video tab in the main menu
- Select SVR to view your video feed.
Troubleshooting your device
- If you have issues connecting the device to the account, power cycle the device (unplug the power jack from the device and then plug it back in to restore power). Check the Ethernet cable is properly connected, and ensure the network has internet access.
- If issues persist, reset the device to factory defaults by using the Reset button located on the back of the device. Press and hold the Reset button until the device’s status LED is flashing green and red (about 15 seconds), then release the button. The device will reboot with factory defaults. If the device was previously installed to your web account, it will need to be deleted before it can be installed again.
Other Device Install Guides
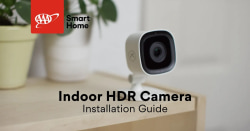
Installing Your Indoor HDR CameraThis 1080p resolution camera provides great live views and recording inside your home, with infrared night vision, High Dynamic Range for excellent contrast and color, and a 117° view.
Configuring Your Control Panel SettingsWe offer basic and smart home security systems with professional monitoring for as low as $19.99/month. Keep your home safe and get your free quote today.
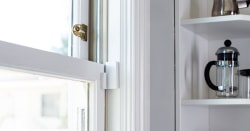
Installing Your Entry SensorsEntry sensors help protect your home's main entry points by alerting you when a door or window are open
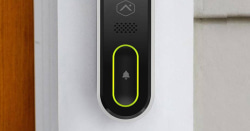
Installing Your Touchless HD Video DoorbellThe Touchless HD Video Doorbell offers high resolution video of who or what is at your front door. It is equipped with a tall, portrait field of view and full-duplex audio, so you can also hear, and speak to visitors through your A3 Smart Home app or panel.
Installing Your 180° Wellness CameraThis 1080p resolution camera gives you great live views and recordings inside your home, with a 180° view to scan the whole room, plus tilt, digital pan, and enhanced zoom.