Setting Up Your Control Panel
Before setting up your AAA Smart Home control panel, make sure you have all the components needed and you have read over the documentation.
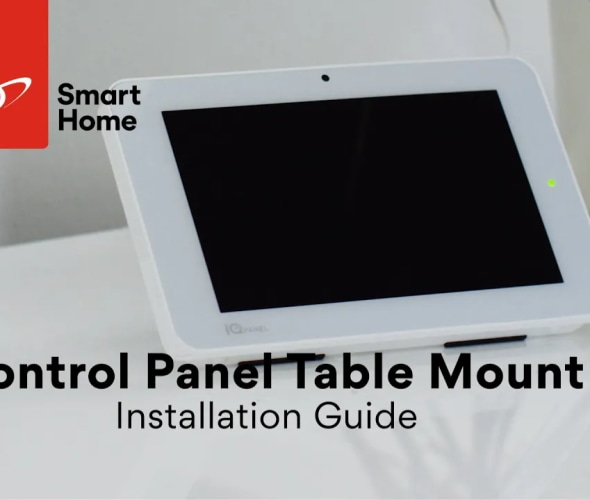
Table mount (recommended)
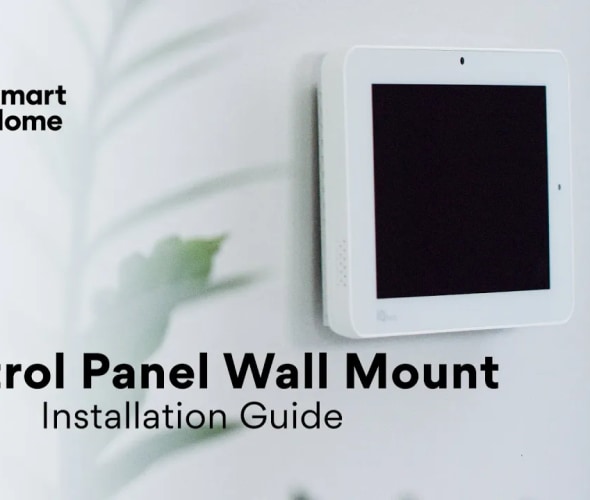
Wall mount
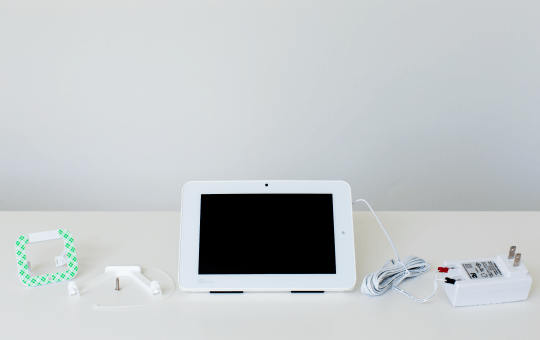
Installation Parts
- Your touch-screen control panel
- Power supply plug, already wired into the back of the panel
- Outlet power adaptor
- Retainer bracket
- Outlet screw
- Plastic wire tie
- Attachable table stand for placing your panel
Choose your location
The easiest way to mount your panel is using the table stand to rest it on a table, countertop, or shelf.
Choose a location that’s close to an outlet and easily accessible for controlling or disarming.
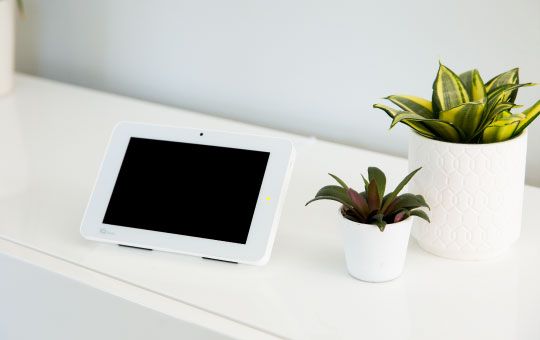
However, avoid putting your panel in high-traffic areas of the home, near a sink or electric appliances, or any place where it can be knocked over or damaged.
Note: The panel can also be mounted to a wall.
However, we highly recommend using the table stand, since a wall install may require additional work and equipment, including drilling and running wiring, that is best done by a technician.
If you prefer a wall mount for your panel, please call our Smart Home Pros for support before attempting this install. You can also watch the instructional wall install video above.
Installation instructions for your table mount
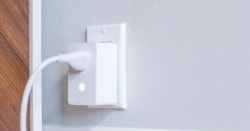
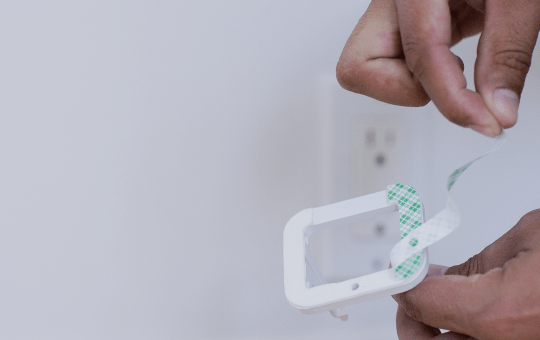
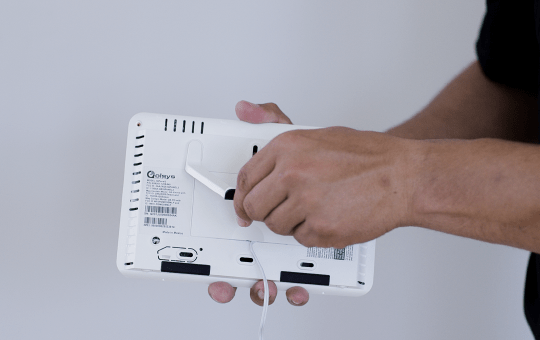
1. Carefully remove the existing screw from your chosen outlet cover. The screw will be on the bottom or the middle of the cover, depending on your outlet.

2. Take your power adaptor, and remove the green sticky tape cover from the back of the retainer bracket.
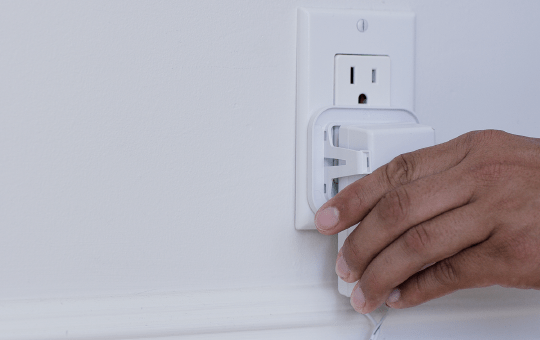
3. Plug your power adaptor into your outlet. Secure by inserting the long screw provided into the open outlet hole.
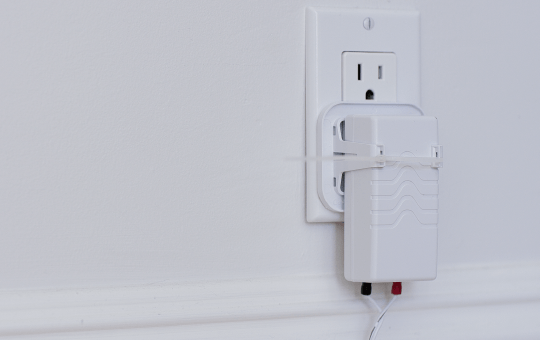
4. Use your wire tie to hold the power adaptor in place. You can clip off any excess wire afterward.
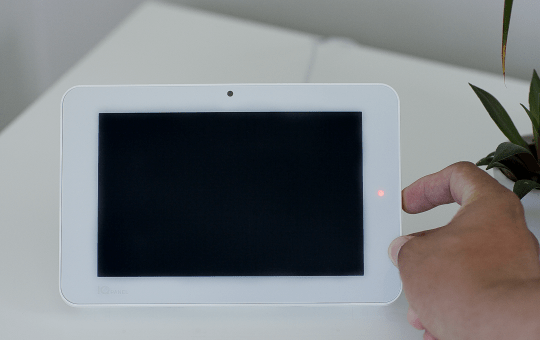
5. Attach your table stand into the back when you're ready to place your panel.
6. Take your panel, and push and hold the standby button on the side for 3 seconds to power it up.
Other Device Install Guides